
How to Weave on a Cardboard Loom
Weaving on a cardboard loom is fun and super easy to do that does not ask for big costs.
Materials for weaving on cardboard
- Cardboard
- Yarn
- Thread
- Large plastic needle
- Crochet needle
- Ruller
- Scissors
- Comp (optional)

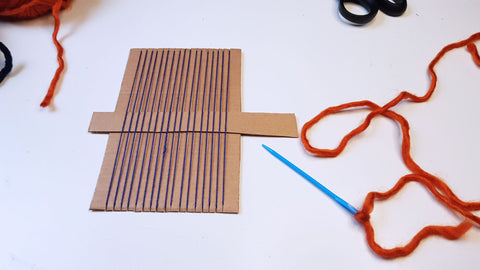
STEP 1: Make your cardboard loom
Cut a rectangle from your cardboard. You can make any size you want! Then mark small 0.5cm long lines – 0.5cm apart from each other. Do it on two opposite edges of the cardboard.

Then cut the lines on both sides.

STEP 2: Warping a loom
Use your thread and warp it around the cardboard. Hold the end of the thread in your hand or use tape to stick it to the back of the loom.

Bring the string up and slide it into the first slit at the top of the loom. Bring the string down and slide it into the matching slit at the bottom. Wrap the string around the frame until the string is through all the slits.
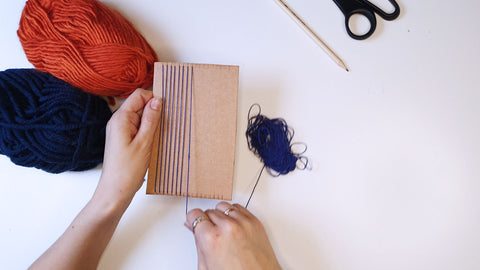
Tie both ends of the threads tightly together.

Insert small cardboard under the threads for easier weaving.
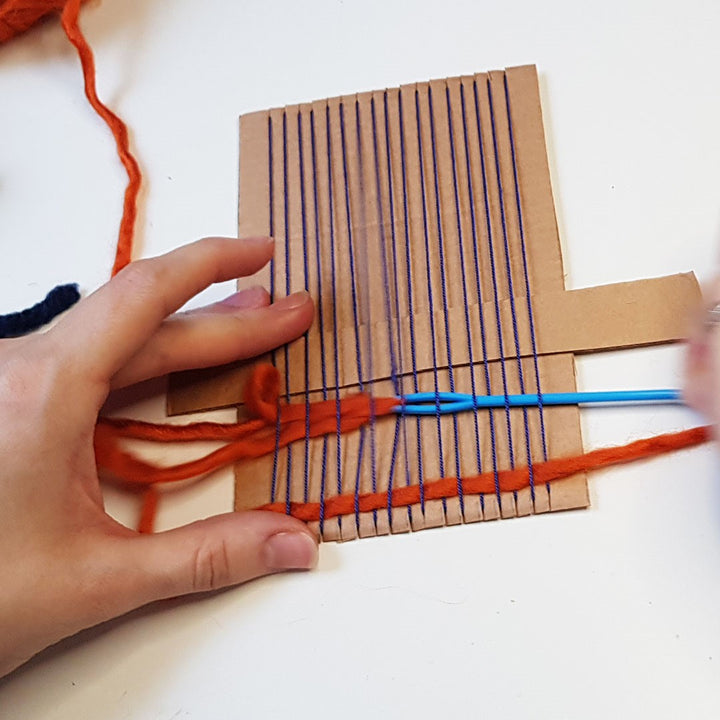
STEP 3: Plain weaving technique
This is the fun part where you can be creative and let your imagination do the work!
Plain weave is a basic weaving technique where weft thread is pulled over the first warp thread, under the second, over the third, under the fourth, and so on till the end of the warp threads.

The second line is opposite the first one – where the weft thread went over the warp thread, now it goes under.
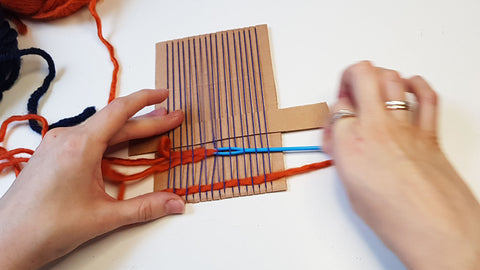
You can use a comb (or simply your fingers) to move the yarn down.

When you begin and end a new piece of yarn, leave a small piece hanging off the side. When you will be done, they can be hidden on the back.

In this way you can make beautiful wall hangings, bookmarks, coasters and more! Just choose your colors or grab one of our kits with matching yarns inside.
STEP 4: Taking off the weave
Turn the left side of the loom and cut the warp threads in the middle.

Then tie both together in knots.

STEP 5: Hiding your ends
Tuck the ends of the weft and warp strings on the back of your weaving project. Use a crochet needle for this part if you have one. (You will have one in our Weaving kit if you ordered the kit)

Hope this tutorial helps to create lot of weaving projects!
- Agrita